Garage Shelves
In this project, I utilized my new Kreg ripcut jig, which made cutting long, perfectly straight lines in sheet goods ridiculously easy. I followed the general design from here, decreasing the overall shelf depth to fit along the extra space on the side of my garage. Different from the workbench, I used OSB for the shelves.
Pictures
 | |
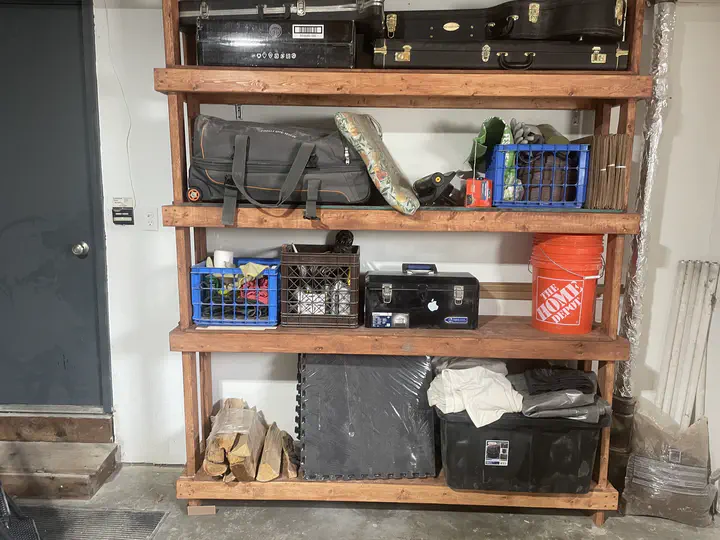
| Stained and bolted to wall. | L-brackets of some sort from Menard’s used to attach each side of shelves to garage wall. |
Lessons Learned
Measuring and Cutting
Make sure to account for the width of the shelf horizontal 2x4 supports when measuring for the depth of the shelf. I didn’t, so my shelves are 1" short in the back, and only cover the first 1/2" of the 2x4 support. It’s not a big deal, because the shelves are still well supported and anchored, but it is an aesthetic faux pas.
A multi-tool is invaluable for getting perfectly square notches in sheet goods: 98% of the notches are cut with a circular saw, and the nice corner finished with the multi-tool with a standard wood blade.
Sanding OSB is more difficult than plywood to sand, because a some of the little bits of wood come off and get stuck in the orbital sander.
Finishing
- When possible, sand and finish everything BEFORE assembly. For many projects, doing it after assembly is required, esp. if there is no way to do a “dry fit” which can be easily undone before final assembly. But for this project, instead of permanently assembling and THEN staining, it would have been much easier to stain then assemble. For additional sanding/cutting/etc that I had to do, I could have done touch-ups as needed.
John Harwell
Researcher and Engineer
Experienced embedded systems engineer whose research interests include multi-agent modeling and behaviors, swarm intelligence, bio-inspired algorithms and multi-robot systems, and computational optimization.