Garage Tool Cart
In this project, I created a functional tool cart around a shitty Chinesium workbench that I bought during my time at Satelles for storing electronic parts on. Getting everything to line up properly was a challenge in the “wrapper”, because:
I’m 95% sure that the measurements of the workbench were metric
The metal legs were tapered/not straight.
The metal legs were NOT square with the workbench top, or each other.
There was much weeping as gnashing of teeth as I clamped and hammered and tried to force things square. Pro tip: Car ratchet straps are amazing for clamping large/unwieldy things together as you try to square up.
Pictures
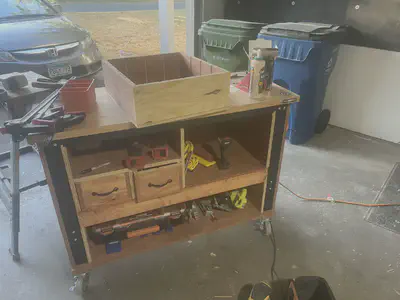
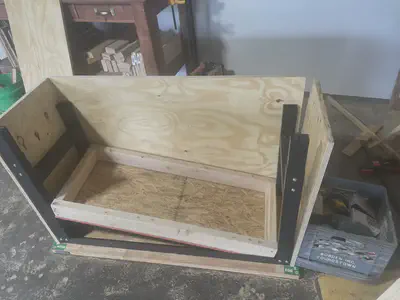 | 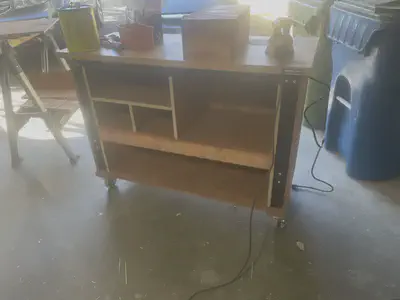 |
| Sizing up plywood and trying to square up the un-square workbench. | The finished skeleton, sans drawers. |
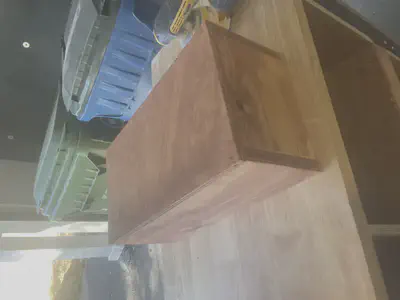 |  |
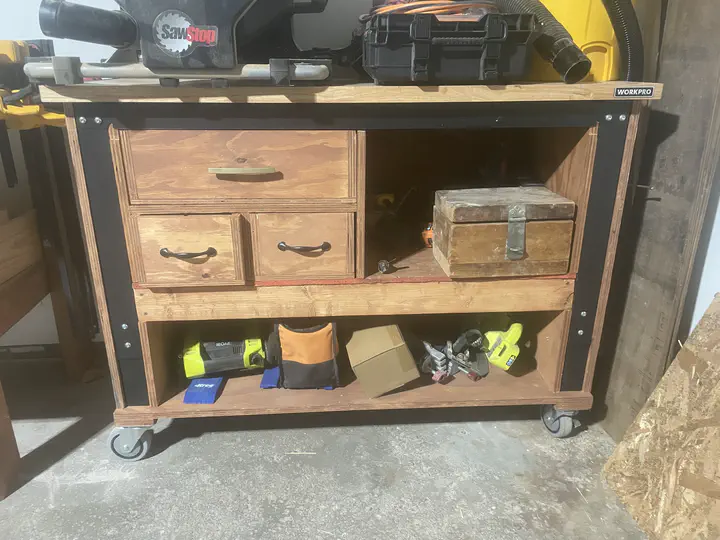
| A small drawer complete except for the drawer pull. | The large drawer complete except for front staining and drawer pull. Note the awesome slots for removable dividers! |
Lessons Learned
Materials
Don’t start with shitty wood. I thought I could use some of the 1/2" plywood left from the pile of materials we got when we had our siding done, but it was hella bowed, and I couldn’t pull it straight enough when I tried to square up drawers made from it. Start with better wood -> better results (duh).
Casters from hardware stores are overpriced and generally considered terrible. This is one area where the stuff you can buy online is going to be cheaper and better quality. If I had looked online first, I would have found some very nice casters which could be used to ensure the cart did NOT move at all when the casters/caster brakes weren’t engaged. With the ones I chose, you can still push it when the brakes are engaged; the “brake” is more of a mechanism to prevent roll-away, rather than allowing you to put some moderate pressure against the thing sitting on the casters without allowing motion.
Measuring and Cutting
When cutting shelf supports, if you’re joining two pieces of plywood at 90 degrees to form a “T”, use dowels to join them to ensure an exact fit. Using just glue+screws can get you close, but for wider shelves (like the one for the single large drawer), even being a little bit off can change the effective height of the slot for drawers.
When cutting drawers, leave 1/8 clearance on the top and side (distributed evenly during L+R once the drawer is in place) make sure the drawer slides freely (for “raw” drawers without metal slides, as I did here). I did this here, in contrast to NOT doing it on my garage workbench, and the results were much better.
When cutting dados incrementally on a table saw, run all pieces that should have a dado in the same place with the SAME setting on the fence to ensure that everything lines up perfectly. I didn’t do this for the slots in the two smaller drawers, but did for the larger drawer, which came out much better.
For drawers in the garage, cutting dados around the inside to enable removable 1/4" dividers is AMAZING, and one of the best ideas I’ve had.
Finishing
Butt joints + wood glue alone is not enough to make strong drawers unless all pieces are dead square. Mine were close, but not quite there, so I didn’t get perfect glue penetration, and had to add nails all around.
Putting drawer pulls on drawers where the pulls are screwed through the back of the front piece of the drawer via machine screws are really hard, because you have to get the holes exactly right to get the handle to be in the center the way you want. I found a neat trick on youtube to get the holes correctly placed, but I didn’t do it quite right on all the drawers, so none of the handles are centered, and I had to enlarge the holes I drilled a LOT on one side of each of the drawers to get the screws to line up.
Make all necessary height/width adjustments to “raw” drawers on the table saw BEFORE you add nails. I didn’t, and ended up having to make a mess on one side of the large drawer to pull out the nails near the top so I could cut it down about an inch. Or put another way, make sure you measure all raw drawers for proper fit before you start assembling them; if I had, I would have caught this before glue up.
When doing sanding and staining on different pieces simultaneously, you need to make sure that all stained pieces are 100% dry before bringing them back into the dusty area where sanding is happening. “Mostly” dry (1-2 hours) doesn’t cut it, and the super fine dust from finish sanding will permanently stick to the stained piece.
John Harwell
Researcher and Engineer
Experienced embedded systems engineer whose research interests include multi-agent modeling and behaviors, swarm intelligence, bio-inspired algorithms and multi-robot systems, and computational optimization.