Garage Workbench
This was my first major woodworking project in our first house, and was challenging because:
- I didn’t have a table saw
- I had a rudimentary circular saw guide for cutting long straight lines
Nevertheless, once everything was assembled, it was square! At least by my measure of “does it wobble when you nudge it”. Drawers were functional, if a bit rough.
Pictures
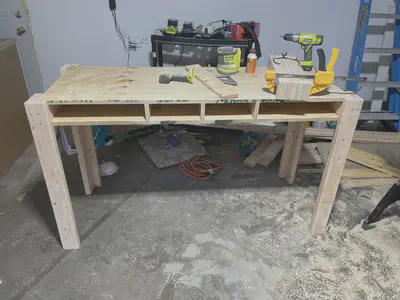 | 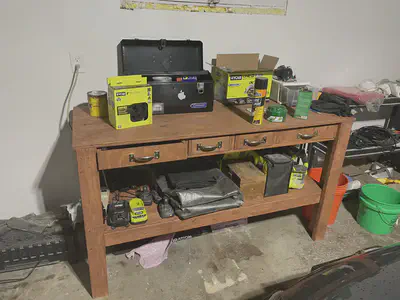 |
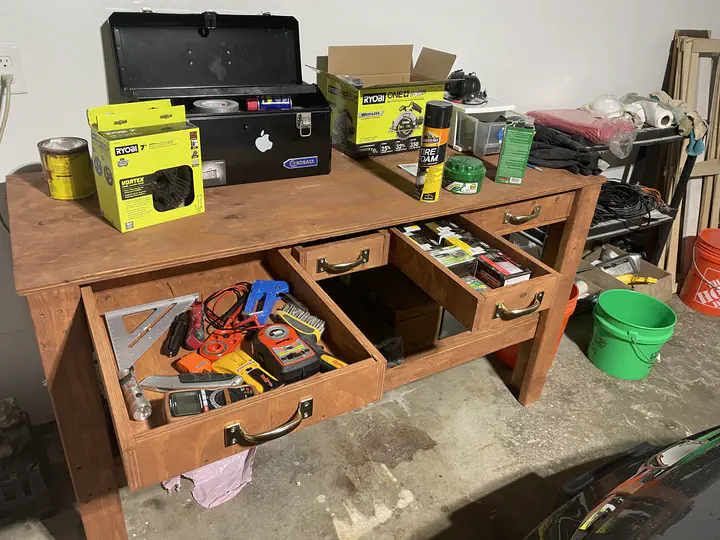
| In progress. The drawer slots were not quite square, which I didn’t discover until much later when I actually tried to put the drawers (which were square) in. | Finished and stained. I ended up having to sand each drawer a bit and try to pull the slots straight with clamping and more screws, and got pretty close to fully square. |
Lessons Learned
Measuring and Cutting
Make sure to account for the width of the workbench legs (if applicable) when measuring for the top of the workbench. I didn’t, so now I have a 1.5" gap between the workbench top and the wall in the back.
I free ripped all of the 2x4s, which was totally unecessary: I could have used my 7" speed square as a handy straightedge guide (assuming the 2x4s were cut squarely, that is).
Drawers
Drawers are hard.
Unlike other things in woodworking, you want at least a 1/8" tolerance between the size of the drawers and the size of the slot the drawers will slide into. I didn’t do this, and ended up having to uniquely sand the sides and top of the completed drawers to fit into individual slots.
It is really important that the slots you will be sliding the drawers into are square, especially when it comes to the dividers that dilineate the slots. I didn’t do this, so things were approximately square, but not quite. What I should have done was draw lines the exact width of the dividers on the top and bottom of the drawer slots where the dividers were supposed to go, and make sure the dividers exactly fit there.
Clamp everything tightly before drilling, and keep everything clamped while screwing.
Make sure you account for the width of the drawer sides when cutting the bottom. I didn’t, so I had to re-cut the drawer sides.
Staining
- Staining is not like painting–if you use a brush, you put a LITTLE bit on the brush at a time, and go over the same area multiple times until you get the desired coverage. If you go too thick too quick, the wood can get stained opaquely and look bad, plus you have lots of drips.
John Harwell
Researcher and Engineer
Experienced embedded systems engineer whose research interests include multi-agent modeling and behaviors, swarm intelligence, bio-inspired algorithms and multi-robot systems, and computational optimization.